Do a Casual Beach
Bathroom Makeover
in One Weekend
This is the second article in our two-part beach cottage bathroom makeover tutorial. The first article is here.
If you think a beach cottage bathroom makeover is a difficult tasks, think again. This is a fun weekend do-it-yourself project that’s easily achievable. Well … If you don’t have to paint the room, one weekend. If you need to paint, you might do that Thursday night or Friday. 😉 Then you’ll have a fresh canvas for everything else.
If you have a color palette selected, great — you’re good to go, and you’re starting here at Step 3. If you don’t have a color palette selected, then see our How to Create a Unique DIY Beach Color Palette article first, and start at Step 1.
Step 3. Print Your Shopping List
Here’s our list and description of the key decor items for our bathroom makeover. Each item in our list links out to an item similar to the ones in our bathroom (all of which were purchased locally, so exact matches aren’t readily available). You can find a printer friendly copy here.
- Pick Your Paint Our room was already this color. It wasn’t our first choice; a prior tenant had painted it this sort of deep sandy brown. It didn’t match our photo exactly, but it was close enough, and we do like how it all came together. You could pick any of the colors from your photo palette, though, for a small room, we suggest a light color from your palette or a lighter shade of one of color. (Choosing a dark color will make the room look smaller.)
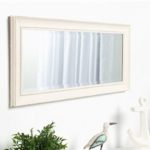
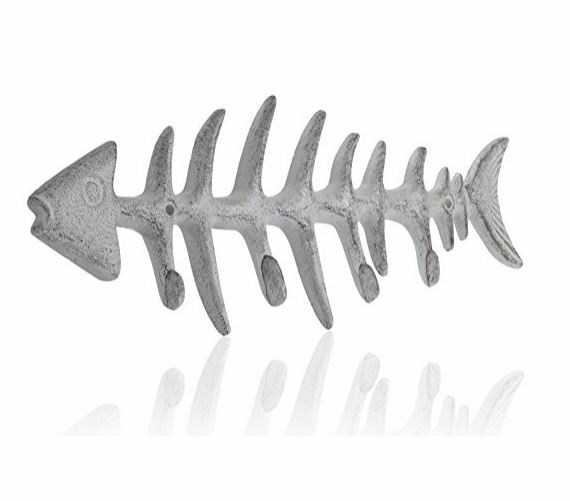
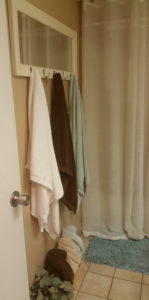
- Rectangle Mirror for Hanging Make sure you can hang your mirror in landscape orientation or that you have the hardware to make it so. If you can’t find one with hooks attached as part of the mirror, like we did, you can buy those separately at any hardware store, and add them to the mirror.
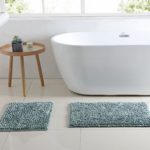 Throw Rugs Chenille rugs are very popular these days, and we know why now. They feel great and clean up beautifully! We chose the seafoam green color for this bathroom and off white in another. You could also choose brown or tan.
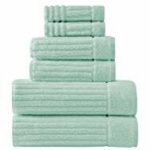
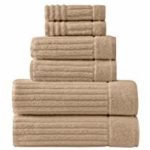
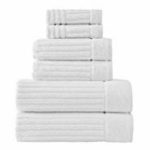
- Towels in 3 Complementary Colors Two colors, minimally; three colors, optimally; four colors, if you’re feeling undecided. 😉 We chose a light (white), two mid-tones (light teal and tan), and dark (brown).
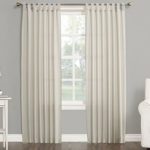 Long Window Curtains We used regular curtains (NOT a shower curtain), and you may be wondering our reason. A tall curtain which is the full height of the room, from floor to ceiling, will make the room look taller and less cluttered. Ours is a small standard bathroom, and we wanted to elongate this space visually. A shower curtain would’ve chopped it up. We did use a spring-tension shower rod to fit it into that space, so no extra hardware or effort was required. If you opt for a regular curtain, make sure the rod pocket is large enough to accommodate a shower curtain rod.
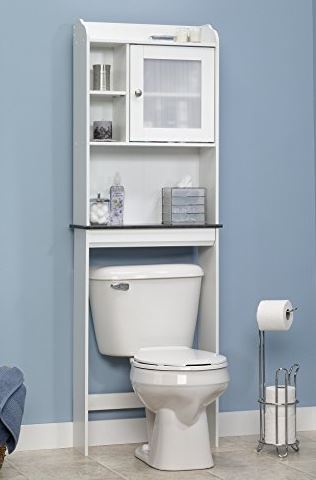
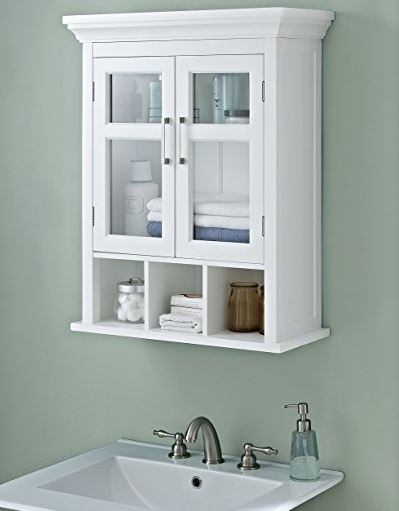
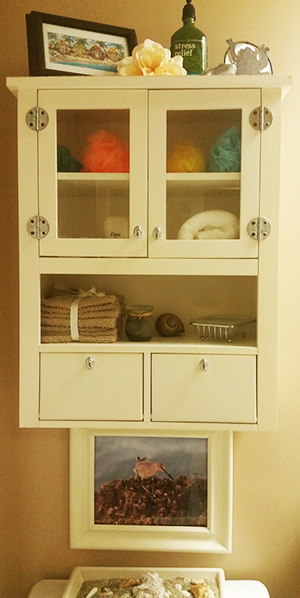 Over-Toilet Cabinet Optionally, you could put an etagere in that space or shelves. We opted for one with glass in the doors. If your room is busy or you’d rather not display the items in your cabinet, one with solid doors, like this (with that “shutters” look and decidedly beachy feel), might work better for you.
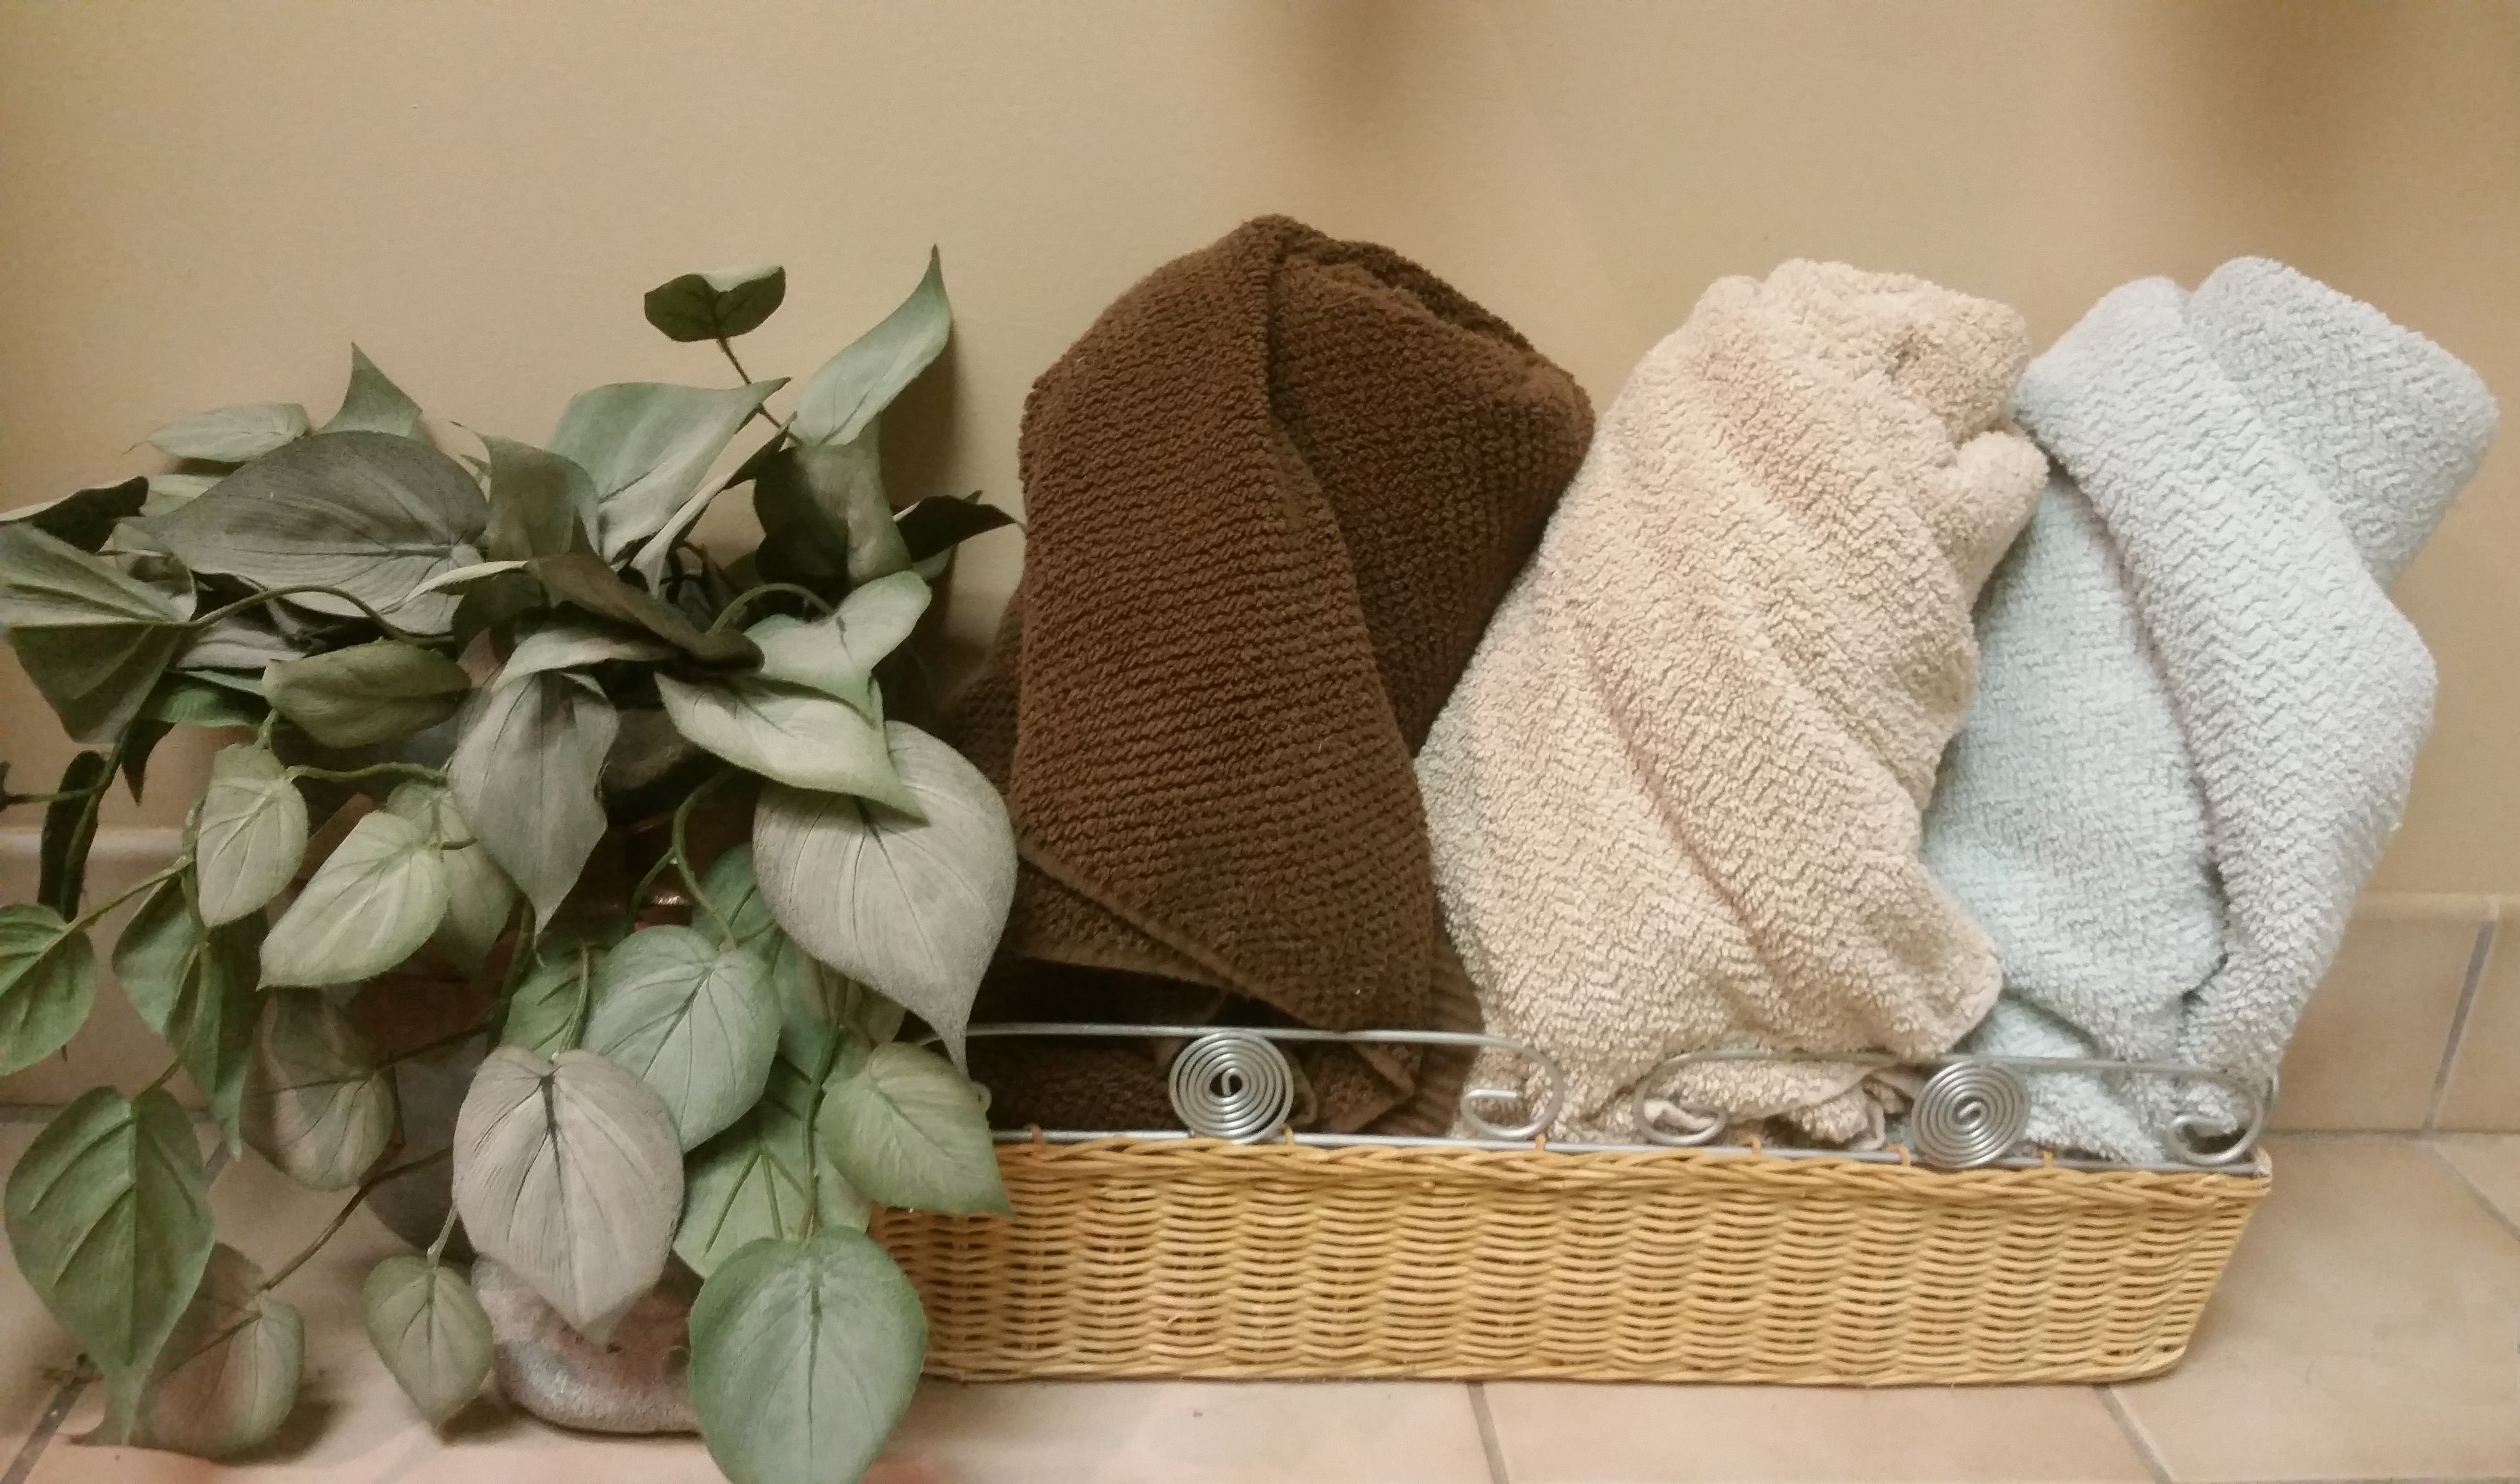
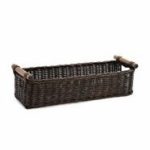
- Long Basket for Bath Towels Ours is a small bathroom, and even though space is a bit limited, we wanted that casual, beach house feels. We rolled our towels, placed them on end in a basket like this one, and told them to act casual. 😀 (Do you think it worked?)
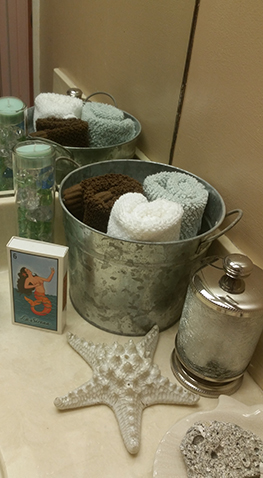
- Metal Bucket for Hand Towels In the photo to the right, you can see the metal bucket we used from a local craft store — like this.
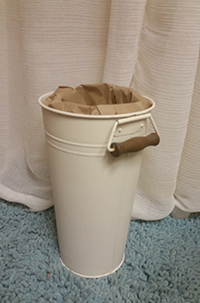
- Tall Metal Bucket as a Waste Basket Again, we purchased ours at a craft store. It was orange. 🙂 We covered the handles with tape and then spray painted it. Here‘s a French metal bucket you might like. If that’s all just too much work, you can opt for a beach-themed waste basket, like this one.
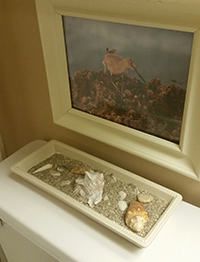 Picture Frame For your photo, of course! Here are some you might like.
Since we placed our photo over the toilet, anything tall we might have set on the toilet itself would’ve obstructed the picture. To avoid that, we placed a shallow dish with sand from our local beach and some sea shells we had collected there.- Various Beach-Themed Decor Accents This is the fun part! Look around for little beachy things you love and just “must have.” We’d say a half dozen such items are good, but use your judgment. Here are some things we’d buy, if we were starting this room again today. You can see everything in this collection at Amazon.
Step 4. Put It All Together
If you have to paint the room, that’s going to be the longest (and, for many, the least favorite) part of the process. Once that’s done, the rest is easy, breezy.
And once you’re past easy, breezy, we know you took photos to share on social media, especially Pinterest, where DIY is king (or queen, if you prefer), right? We’d love it if you shared them with us, as well! Leave a comment with links to your social media posts, and we may use them in future articles (with your permission, of course).
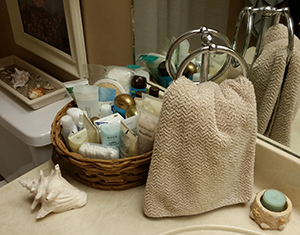 Since we like the metal basket as a “display” in our bathroom, we also have a counter-top towel stand for the towel guests use.
Our bathroom is a guest bath in the truest definition, so we also have a basket of of miniature toiletries for our guests. We picked those up at our local Target store which, if you didn’t know, always has a great selection of travel-sized toiletries and whatnots.

